Ledger Live Desktop Setup: Step-by-Step Tutorial
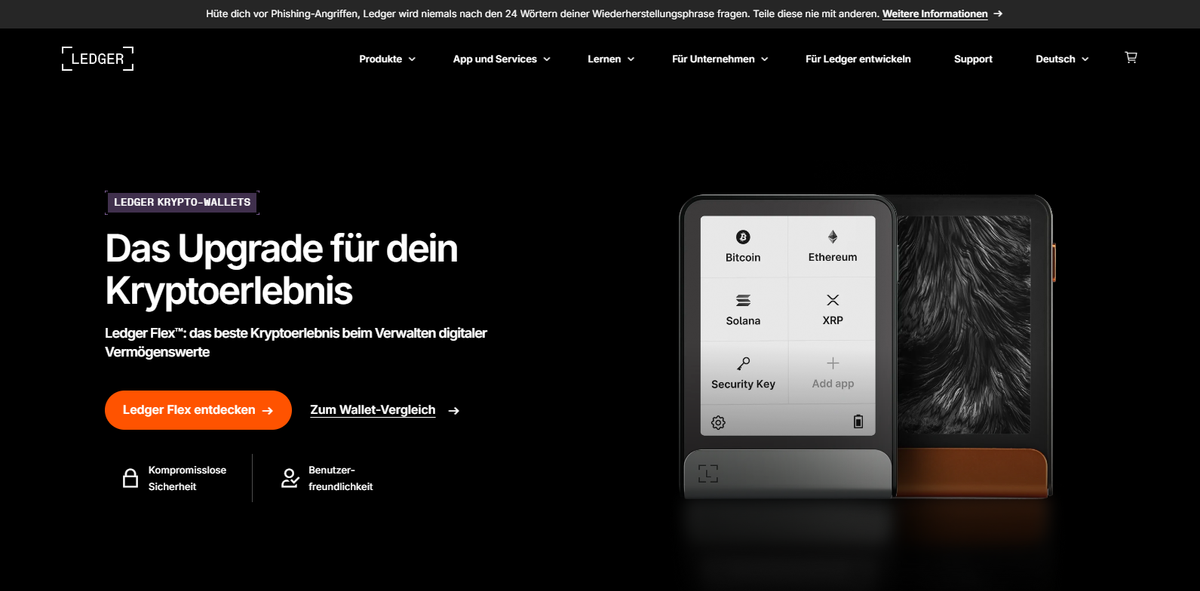
Managing your crypto securely starts with the right tools—and Ledger Live is one of the most trusted options available. Ledger Live Desktop works seamlessly with Ledger hardware wallets, allowing you to buy, swap, send, receive, and stake your digital assets in one secure interface. If you're setting up Ledger Live for the first time, this guide will walk you through every step of the process.
1. Download Ledger Live
The first step is getting the official Ledger Live application:
- Visit the official Ledger website.
- Navigate to the Downloads section.
- Select Ledger Live Desktop for your operating system (Windows, macOS, or Linux).
- Download and install the application.
Tip: Always ensure you're downloading from the official site to avoid phishing or malicious software.
2. Install and Open the Application
Once the installation file is downloaded:
- Run the installer.
- Follow the on-screen instructions.
- Launch Ledger Live once installation is complete.
When you open it, you'll be greeted with a clean interface prompting you to start your setup.
3. Choose Your Ledger Device
Ledger Live supports multiple Ledger models, such as Nano S Plus and Nano X. On the welcome screen:
- Select Get Started.
- Choose your device model.
- Click Continue to begin the setup process.
If your Ledger device is brand new, choose Set Up as New Device. If you already have it initialized, select Already Have a Device.
4. Connect and Prepare Your Ledger
To connect your Ledger hardware wallet:
- Plug your device into the computer using the USB cable.
- Unlock it with your PIN.
- Follow the instructions in Ledger Live as it verifies your device’s authenticity.
Ledger Live will confirm that your device is genuine before moving forward.
5. Install Apps for Your Crypto Assets
Before you can manage coins or tokens, you'll need to install the appropriate apps:
- Go to the My Ledger section.
- Allow Ledger Live to access your device.
- Install the apps for the cryptocurrencies you plan to use (e.g., Bitcoin, Ethereum, Solana).
Each app enables functionality for a specific blockchain.
6. Add Accounts in Ledger Live
Now that your apps are installed:
- Navigate to Accounts.
- Click Add Account.
- Select a cryptocurrency.
- Confirm the account creation on your Ledger device.
Your newly added accounts will now appear in your dashboard.
7. Start Managing Your Crypto
Once your accounts are set up, you're ready to:
- Send and receive crypto
- Buy or swap coins
- Track portfolio performance
- Stake assets directly (depending on the coin)
Ledger Live gives you a complete overview of your holdings in one place.
Final Thoughts
Setting up Ledger Live Desktop is a straightforward process, and pairing it with a Ledger hardware wallet ensures one of the highest levels of security in the crypto world. With this step-by-step guide, you're now fully equipped to manage, track, and protect your digital assets with confidence.